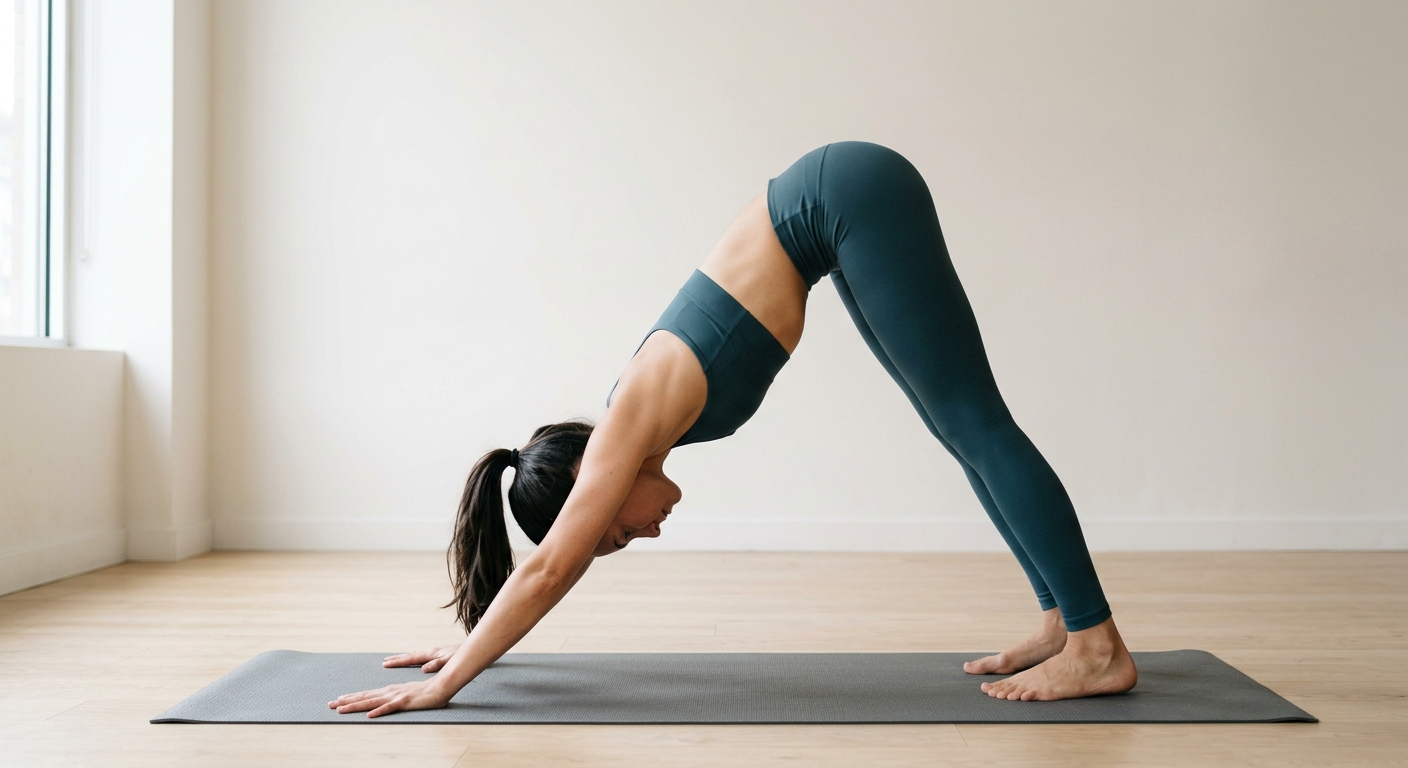
Downward-Facing Dog
Adho Mukha Svanasana
How to Practise It
- 1Start on your hands and knees in Tabletop position, wrists stacked directly beneath your shoulders and knees under your hips.
- 2Spread your fingers wide, index fingers pointing forward, and press firmly into the knuckles at the base of your index fingers and thumbs.
- 3Tuck your toes, take a deep inhale, and on the exhale, press the floor away to lift your knees off the mat and send your hips up and back.
- 4Keep a soft bend in both knees to prioritize a flat, elongated spine rather than forcing your legs straight.
- 5Rotate your upper arms outward so your triceps wrap back toward your feet and your armpits face inward toward each other.
- 6Relax your neck so your head hangs naturally between your upper arms, keeping your gaze softly between your ankles or toward your navel.
- 7Breathe deeply for 5 steady breath cycles, maintaining the active push through your hands, then gently lower your knees back to the mat on an exhale.
Downward-Facing Dog (Adho Mukha Svanasana) is a foundational yoga posture and mild inversion where your body forms an inverted V-shape, distributing weight between active hands and grounded feet to decompress the spine, open the posterior chain, and build balanced upper-body strength.
In my daily online classes, this is often the very first pose where I see students struggle with conflicting priorities. People arrive with an image in their head of straight legs and heels pinned to the floor. In pursuit of that image, they round their lower backs, dump all their body weight straight into the heels of their hands, and crane their necks to look at their toes. My first instruction is always: forget your heels. Downward Dog is a spine pose first, a shoulder-stability pose second, and a hamstring stretch third.
Setting the Foundation: The Hands
Your relationship with the mat determines everything that happens upstream in your shoulders and spine. Spread your fingers wide, about hand-span distance. Root firmly through the base of the index finger and the inner edge of the palm (the hasta bandha connection). When students complain of wrist ache after two minutes of practice, nine times out of ten they are collapsing into the outer pinky side of their wrists. Press the mat away as if you are trying to push the floor forward and out of the room.
Wrap your outer armpits down toward the floor to externally rotate your upper arms. This creates broadness across your upper back and keeps your neck completely free. If your shoulders are touching your ears, back off, bend your knees, and re-establish that pressing action through your palms.
The Spine Over the Hamstrings
I cue this constantly: bend your knees generously, lift your heels two inches off the mat, and focus entirely on sending your sitting bones high and back toward the ceiling. When you bend your knees, you free your pelvis to tilt forward (anterior pelvic tilt), which restores the natural curve of your lumbar spine.
Once your spine is long and straight like a ski slope, you can gradually work on drawing the thigh bones back and releasing your heels toward the mat. Whether your heels ever touch the floor is largely determined by the structure of your ankle joints and the length of your Achilles tendons—not your dedication as a yogi. Work with a steady 4-count inhale through the nose and a smooth 4-count exhale.
What You Should Feel
When Adho Mukha Svanasana is aligned well, you should feel an energetic lift up out of your wrists, broad space across your collarbones, traction through your side ribs, and an active release across your calves and hamstrings. It should feel like a dynamic, full-body stretch rather than a heavy push-up hold.
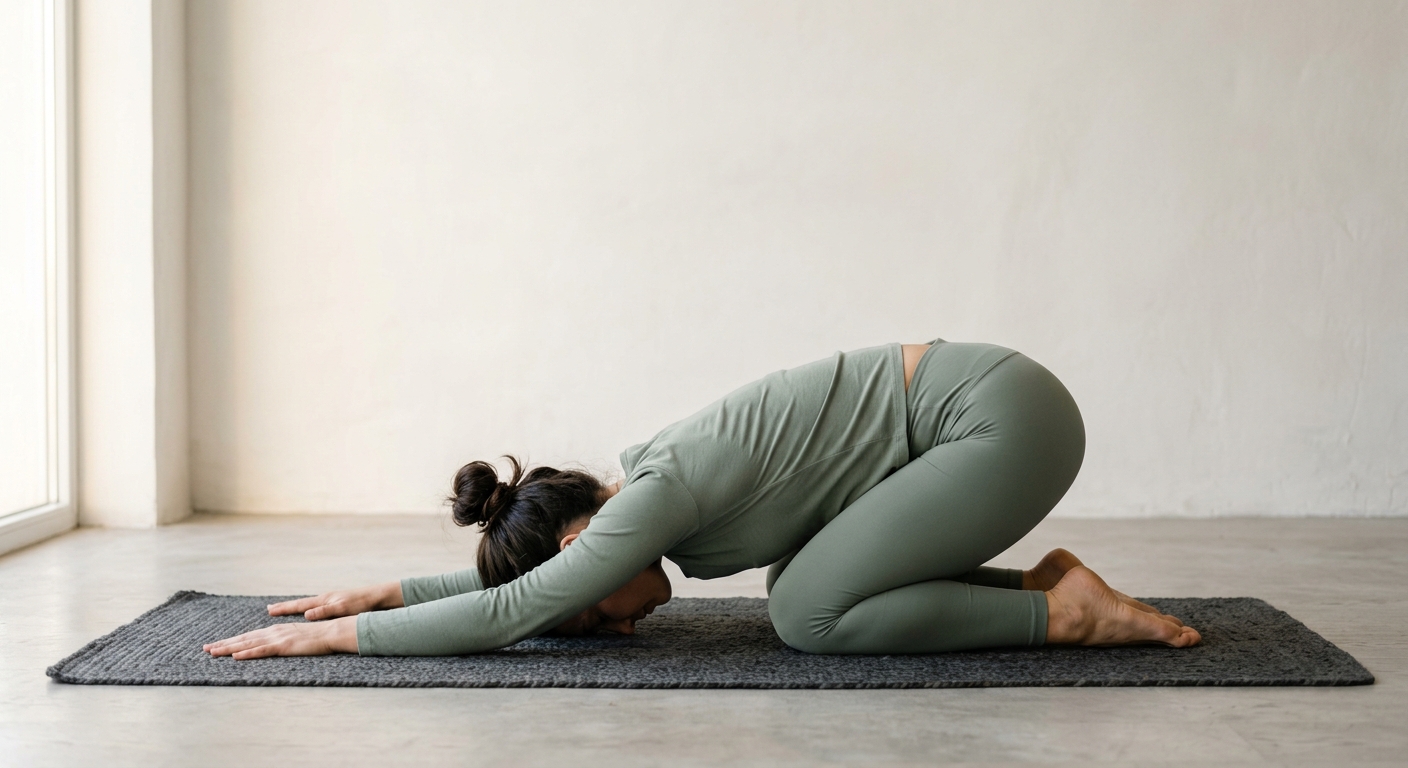
Listen to your body carefully. If you feel sharp, pinching pain in your wrists, a stabbing sensation in the tops of your shoulders, or numbness in your hands, come down into Child's Pose (Balasana) immediately. If you have active carpal tunnel syndrome, high blood pressure, or a recent shoulder injury, always consult a healthcare professional before practicing load-bearing inversions.
I invite you to roll out your mat and practice this live with me in one of my small online classes, where I can check your hand placement and hip height in real time.
Benefits
- • Decompresses and lengthens the entire spinal column
- • Strengthens the shoulders, upper back, arms, and wrists
- • Deeply stretches hamstrings, calves, and Achilles tendons
- • Calms the nervous system and improves full-body circulation as a mild inversion
- • Builds core awareness and strengthens the serratus anterior
Modifications
- • Place a yoga block under each hand to reduce wrist compression and elevate the chest
- • Keep knees bent at a 45-degree angle to relieve tension in tight hamstrings and the lower back
- • Place hands on the seat of a sturdy chair or against a wall at hip height for an accessible standing variation
Muscles Worked
When to Avoid or Modify
- • Carpal tunnel syndrome or acute wrist injuries
- • Unmanaged high blood pressure or detached retina (due to inversion)
- • Late-term pregnancy (modify using a wall or elevated blocks)
- • Rotator cuff tears or acute shoulder impingement
This is general guidance, not medical advice. If you have an existing injury or condition, check with your doctor before practising.