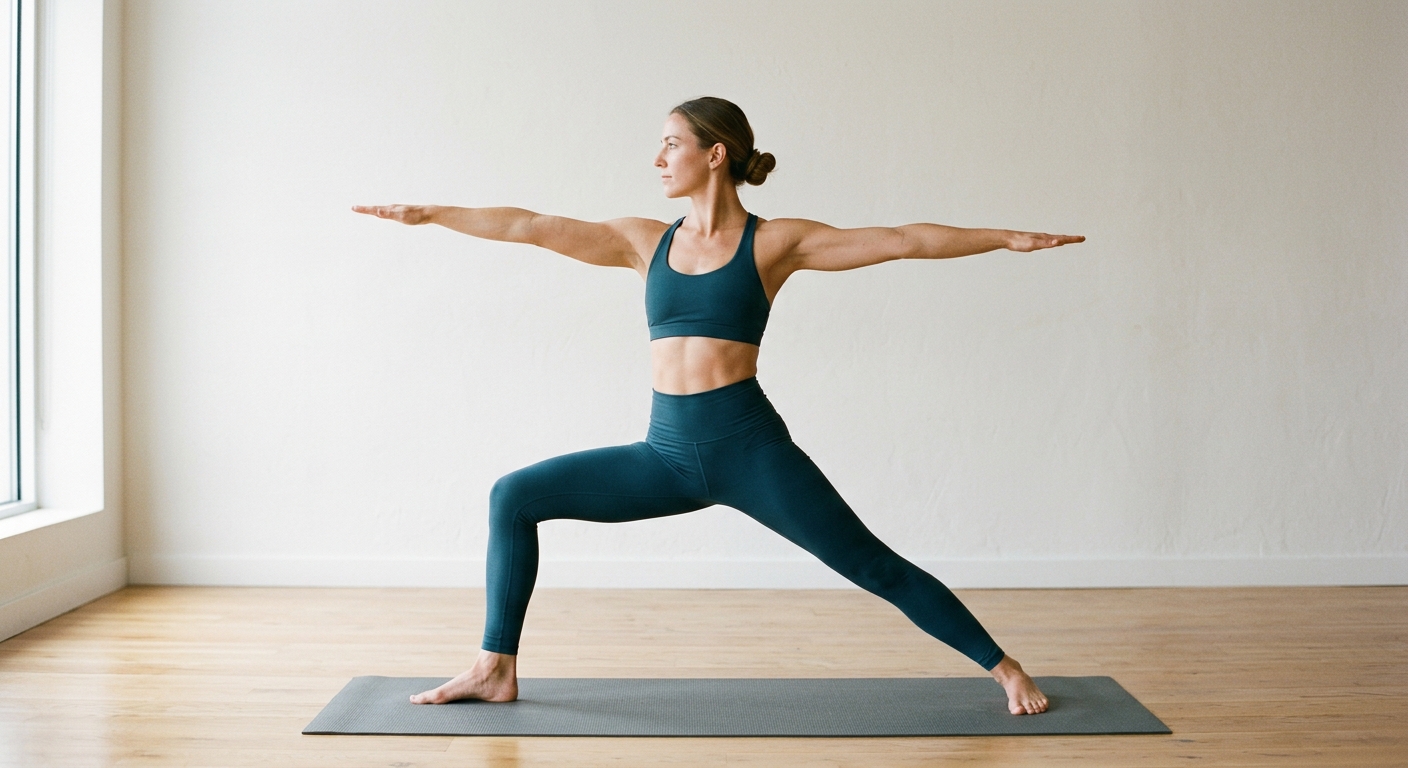
Triangle Pose
Utthita Trikonasana
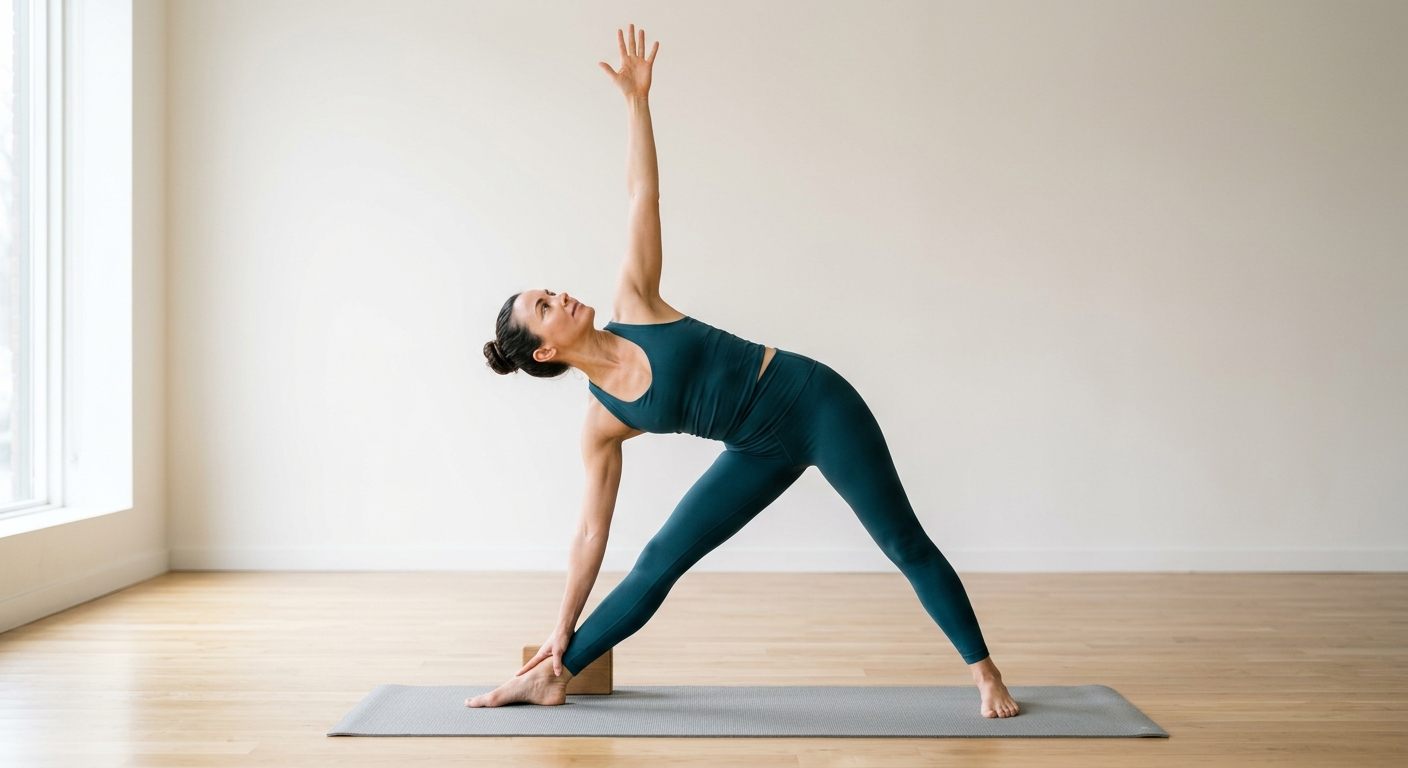
How to Practise It
- 1Step your feet 3.5 to 4 feet apart along the length of your mat, extending your arms wide at shoulder height parallel to the ground.
- 2Pivot your right foot out 90 degrees toward the top of the mat and angle your left foot inward about 15 degrees, anchoring through the outer back heel.
- 3Inhale deeply, firm both quadriceps, and shift your right hip crease back as you reach your right arm and torso far forward over the right leg.
- 4Exhale and lower your right hand down to a block, your shin, or the floor outside the right ankle, keeping both sides of your waist long and uncompressed.
- 5Extend your left arm straight up toward the ceiling, stacking your shoulders vertically and broadening across the chest.
- 6Turn your gaze gently toward your top left thumb, or keep your neck neutral and look straight ahead if your neck feels strained.
- 7Hold the posture for 5 deep, steady breath cycles (approximately 30 to 45 seconds), keeping your core engaged and weight balanced across both feet.
- 8Press firmly through both soles, inhale to lift your torso back to center, parallel your feet, and repeat the sequence on the left side.
Triangle Pose (Utthita Trikonasana) is a foundational standing yoga posture in which the legs are positioned wide apart in a straight-legged stance while the torso extends laterally over the front leg, creating geometric triangular lines between the floor, the limbs, and the torso. It opens the inner thighs and hamstrings, strengthens the core and ankles, and expands the chest and thoracic spine.
When I introduce Utthita Trikonasana in my morning beginner and alignment classes, students often expect it to be a simple side bend where the goal is touching the floor. In reality, Triangle Pose is an active, full-body integration posture. It is less about how low your bottom hand travels and much more about how much length you can maintain along both sides of your waist while keeping your pelvis and chest broad.
Finding the Hinge: The Anatomy of the Stance
To understand this shape, look down at your feet. In my classes, I cue a stance of roughly 3.5 to 4 feet apart. Your front foot points straight ahead toward the short edge of your mat, tracking your knee directly over your second toe. Your back foot turns in slightly—around 15 degrees—with the outer rim of that back heel glued to the floor.
The movement does not start at your waist; it starts right at your front hip crease. Imagine someone placing a gentle finger directly into your front hip socket and drawing it straight back toward your rear heel. As that hip recedes, your torso glides forward horizontally over the front thigh before tilting down.
When done correctly, you will feel an unmistakable, clean line of length from your back ankle all the way up through the crown of your head. You should feel your front hamstring lengthening, your adductors waking up, and the deep lateral stabilizers along your spine firing to keep you suspended in space.
The Three Most Common Mistakes I See on Screen
Teaching live online means I observe dozens of living rooms every day, and three specific alignment traps show up constantly in Triangle Pose:
- Collapsing the Underbelly: Beginners often dump their torso downward just to tap the floor or their ankle, causing the bottom ribs to round like a banana. If your right hand is down, your right side waist must stay just as long as your left side waist. If you feel crunching in the bottom flank, back off immediately and place a yoga block under your hand.
- Hyperextending the Front Knee: If you have flexible knee joints, your front leg will naturally want to lock out backward. This places unnecessary shearing force on the knee capsule. I constantly remind my students: engage your front quadricep actively to lift the kneecap, and keep a microscopic, soft micro-bend in that knee joint.
- Dumping Weight Into the Bottom Hand: Your bottom hand is an antenna, not a pillar. You should not be resting your body weight on your front shin or block. Test your core engagement by seeing if you can hover your bottom fingers an inch off the prop without your torso dropping.
Working with Props and Breath
A wooden or high-density foam block placed behind your front ankle is the single best tool for this pose. Elevating the floor brings the posture into your core and legs rather than letting it collapse into your lower back. Place your palm flat or fingertips tented on the block at whatever height allows your collarbones to stay wide and open toward the side wall.
Your breath is your feedback loop. We hold Triangle Pose for 5 full, measured breaths—about 30 to 45 seconds per side. Inhale for a slow count of 4 to draw prana into the back of your lungs and stretch your spine longer. Exhale for a count of 4, using that gentle abdominal contraction to rotate your bottom ribs forward and your top ribs skyward. If your breath becomes ragged or shallow, you have pushed too far past your natural range.
A Note on Safety
Listen closely to your body’s signals. Yoga should never produce sharp, pinching, or shooting sensations in your joints. If you feel pinching in your front hip socket or sharp tension behind your knee, ease out of the depth. Anyone dealing with chronic back pain, SI joint dysfunction, or high blood pressure should keep the stance slightly narrower and avoid turning the head upwards. Please consult your physician regarding pre-existing medical conditions before starting a vigorous physical practice.
If you want real-time feedback on your foot placement, hip hinge, and torso rotation, join me on the mat in my live online classes. We break down foundational poses like Triangle Pose every week so you can build strength safely and with confidence.
Benefits
- • Stretches and lengthens the hamstrings, groins, and hips without overloading the lower back.
- • Strengthens the quadriceps, core obliques, ankles, and spinal stabilizers.
- • Opens the chest, shoulders, and thoracic spine to support fuller diaphragmatic breathing.
- • Improves pelvic stability, posture, and proprioceptive body balance.
- • Relieves physical tension along the lateral side body and quadratus lumborum.
Modifications
- • Set a yoga block on its medium or tall height behind your front ankle to rest your lower hand on, preventing rounding through the spine.
- • Keep a soft micro-bend in the front knee to protect against joint hyperextension and engage the surrounding quadriceps muscles.
- • Place the top hand on your hip if you experience shoulder stiffness, impingement, or fatigue, focusing on rotating your ribcage open.
Muscles Worked
When to Avoid or Modify
- • Low blood pressure, vertigo, or dizziness: avoid looking upward toward the ceiling; instead, keep your gaze fixed on the floor.
- • Neck or cervical spine injuries: keep your head in a neutral position aligned with the mid-spine without rotating upward.
- • Acute hamstring tears or sacroiliac (SI) joint inflammation: maintain a clear micro-bend in the front knee and use a high block under the hand to reduce lateral strain.
This is general guidance, not medical advice. If you have an existing injury or condition, check with your doctor before practising.