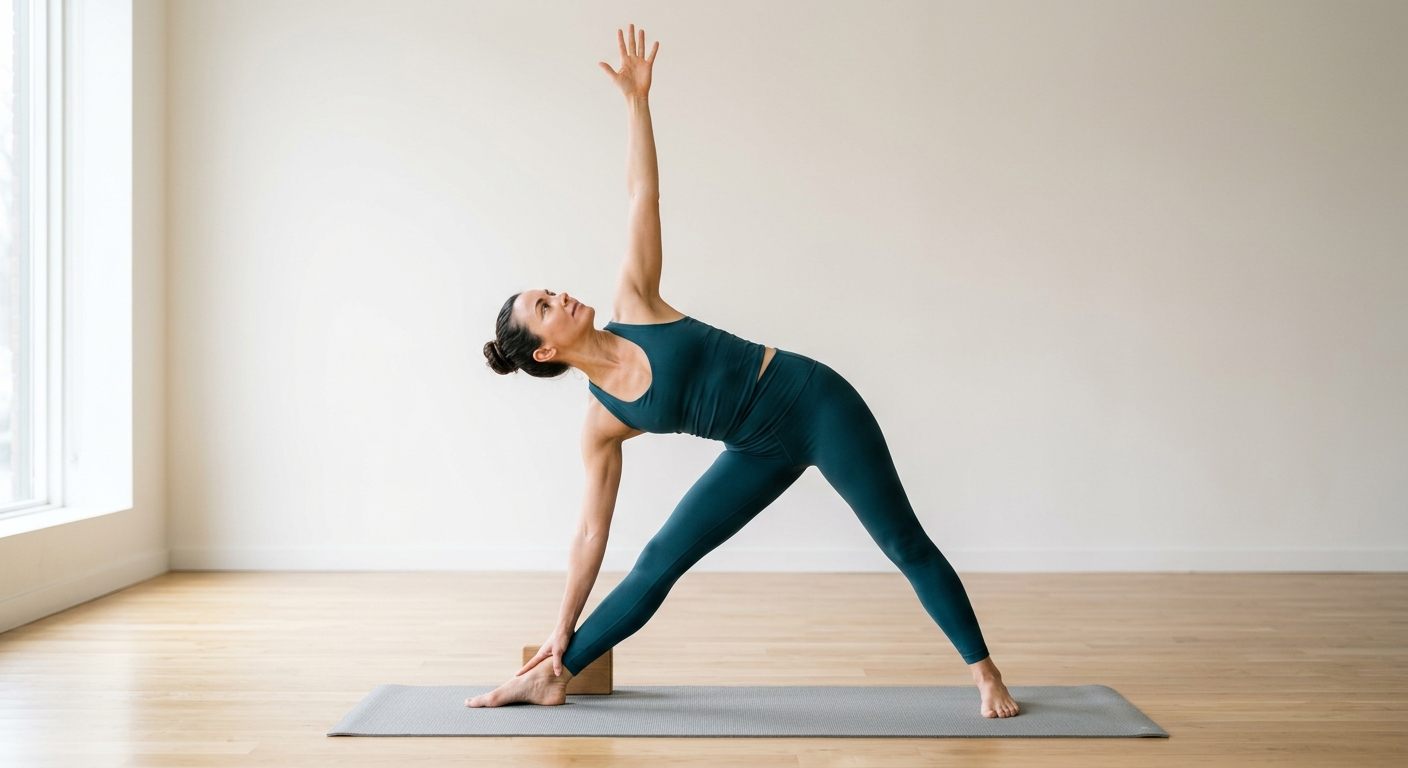
Warrior II
Virabhadrasana II
How to Practise It
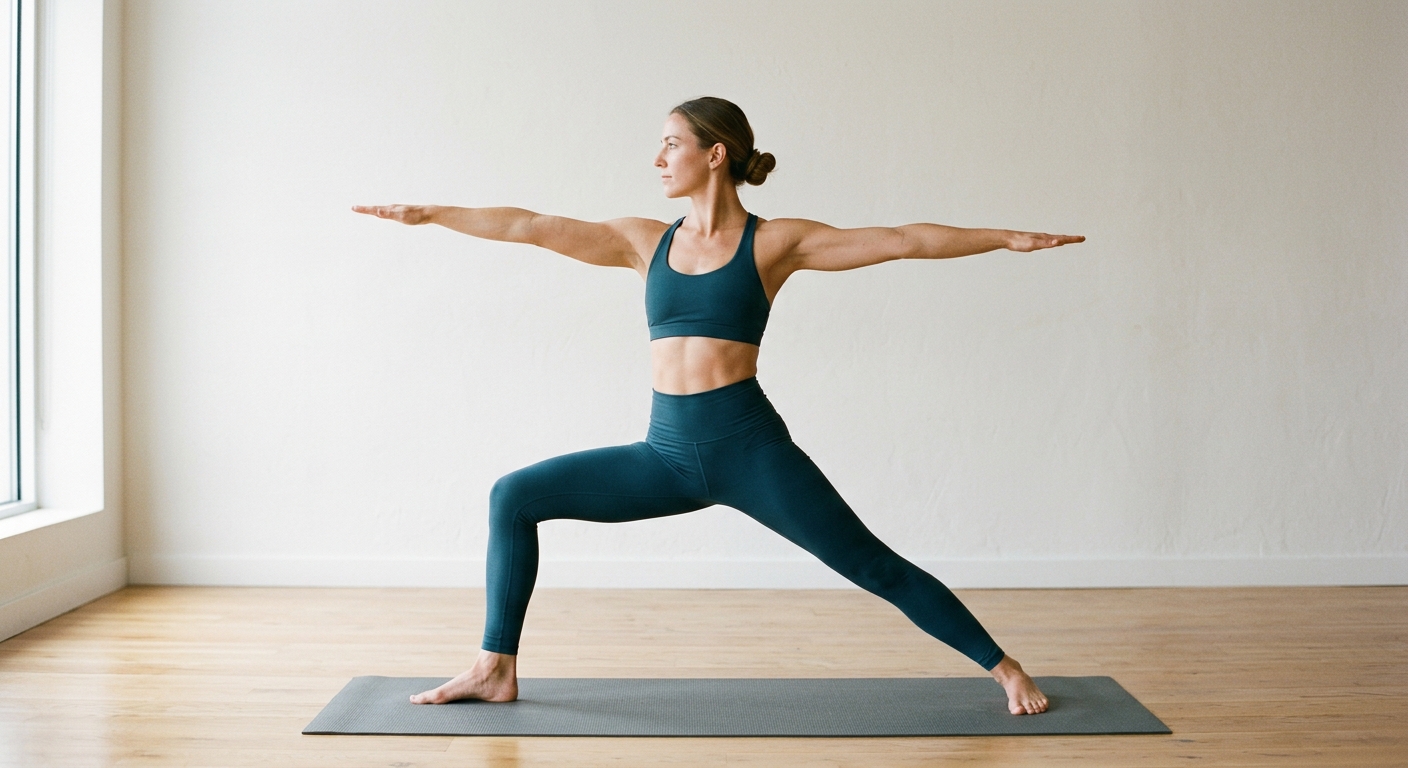
- 1Begin in Mountain Pose (Tadasana) at the top of your mat, then step your feet wide apart (about 3.5 to 4 feet) along the long edge of the mat.
- 2Turn your right foot out 90 degrees so your toes point directly toward the top edge, and angle your left foot slightly inward (about 10 to 15 degrees) with the heel anchored.
- 3Align your front right heel with the arch of your back left foot.
- 4Inhale and raise your arms out to the sides at shoulder height, parallel to the floor, palms facing down.
- 5Exhale and bend your right knee deeply until it stacks directly over your right ankle, aiming to bring the right thigh parallel to the floor.
- 6Stack your shoulders directly over your hips rather than leaning forward toward the front hand.
- 7Turn your head to look softly over your right middle finger, pressing firmly through the outer edge of your back foot.
- 8Hold for 5 to 8 steady breaths, then press through the front heel to straighten the leg, switch your feet, and repeat on the left side.
Warrior II (Virabhadrasana II) is a foundational standing yoga posture characterized by a wide, sideways stance with the front knee bent at a 90-degree angle, the back leg straight and active, the hips open toward the long edge of the mat, and the arms extended horizontally at shoulder height with the gaze focused softly over the front fingertips.
In my daily live classes, I consider Warrior II the ultimate litmus test for lower-body stamina and mindful breath control. It looks deceptively simple in photographs, but anyone who has held this pose for six genuine, unhurried breaths knows the physical truth of it. Warrior II demands that you anchor firmly into the earth through your legs while keeping your upper body buoyant, calm, and spacious. It is a posture of quiet strength rather than aggressive effort.
What the Posture Should Feel Like
When you land in a well-aligned Warrior II, your base should feel unbreakable. You will immediately feel your front quadriceps and glutes firing to sustain the bend, while your back inner thigh lengthens and your outer hip stabilizes. There is an active dual-action in the legs: your front heel presses down and energetically pulls backward, while the outer edge of your back foot slices into the mat.
Through the upper body, you should feel wide across the collarbones and broad across the upper back. Your spine remains tall and neutral—sitting squarely between both hips—rather than lunging forward after the front hand. When you lock your gaze (Drishti) onto the middle fingernail of your front hand, your mental chatter begins to settle, teaching you how to stay relaxed even when the front thigh begins to heat up around breath four.
Practical Alignment Cues I Give Every Day
Over years of watching students on screen and in person, I see the same four alignment tendencies repeatedly. Here is how I cue my students to correct them:
- Stop reaching forward into the future: A very common habit is leaning the entire torso over the front thigh as if trying to reach for something. I tell my students to place their hands on their hips, bring their shoulders directly over the pelvic bowl, and then re-extend the arms. Your torso stays perpendicular to the floor. 2. Track the front knee carefully: Look down at your front knee. If it collapses inward toward your big toe, your inner hip is dropping and placing shear stress on the inner knee. Actively pull the front knee outward toward your pinky toe until you can see your big toe on the inside of your knee. 3. Do not forget the back leg: Almost all beginners dump 80% of their weight into the front leg because it is doing the obvious work. This fatigues you twice as fast. Press firmly into the pinky-toe edge of your back foot and lift the back inner arch. Imagine someone is pulling you gently backward by your rear wrist to distribute your weight 50/50 between both feet. 4. Soft shoulders, active fingers: Holding the arms up for 45 seconds causes many people to hike their shoulders up toward their ears. Inhale to lift the chest, then exhale and deliberately melt the shoulder blades down the back ribs while radiating energy all the way through your fingertips.
Working with the Breath
Never hold your breath in Warrior II. I guide my students through a steady 4-count inhale and 4-count exhale. Use the inhale to lengthen the spine from the tailbone to the crown of the head. Use the exhale to settle deeper into the front hip crease without losing the back leg engagement. If you feel your breath turning shallow or ragged, you have gone too deep—back out of the lunge an inch or two and reclaim your calm rhythm.
A Note on Joint Safety
Yoga should challenge your muscles, never your joints. If you feel any sharp, pinching, or twisting pain in the front knee or the back hip, step out of the pose immediately. Those with chronic knee instability, high blood pressure, or hip labral issues should work with a shorter stance and consult their doctor or physiotherapist before working into deeper holds.
If you want real-time feedback on your stance, knee tracking, and breathing, join me on the mat in my live online classes. We break down foundational postures like Warrior II step-by-step so you build confidence and lasting strength without strain.
Benefits
- • Strengthens the quadriceps, hamstrings, glutes, and calves
- • Increases mobility and flexibility in the hips, groin, and chest
- • Builds core stability and reinforces upright spinal posture
- • Improves mental stamina and concentration through single-point focus (Drishti)
- • Stimulates healthy circulation throughout the lower body and pelvis
Modifications
- • Shorten your stance: Reduce the distance between your feet and take a shallower bend in the front knee if your hips or knees feel strained.
- • Hands on hips: Rest your hands on your pelvic rim if you have shoulder pain, neck tension, or fatigue in the upper back.
- • Chair support: Place a sturdy, armless folding chair under your front thigh to bear partial body weight while learning the hip and foot alignment.
Muscles Worked
When to Avoid or Modify
- • Recent or chronic knee injuries (e.g., meniscus or ligament tears)
- • Severe hip impingement or unaddressed sacroiliac (SI) joint inflammation
- • Uncontrolled high blood pressure (keep hands on hips rather than extending arms above heart level)
This is general guidance, not medical advice. If you have an existing injury or condition, check with your doctor before practising.